Category: Modifications


DIY No Load Potentiometer.

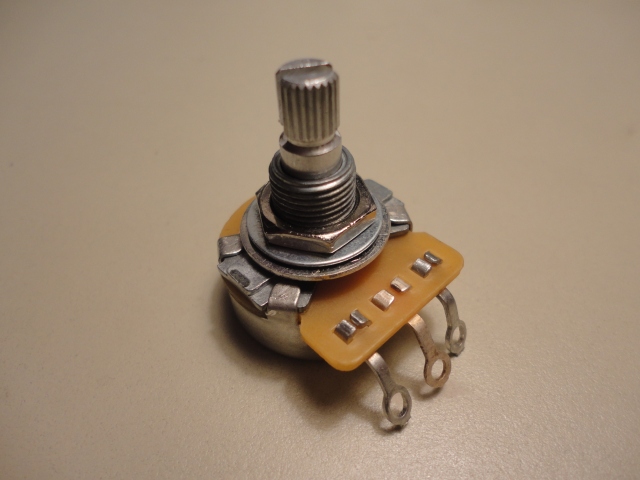
This one is very easy to do. First bend the tabs of the back cover so that it can be removed easily. After that turn the shaft all the way clockwise. Remove the back without moving the shaft and place a mark right before where the contacts are on the resistive material. That would near the wiper on the left(looking at it from the top, also known as lug 3). After that I used a sharp utility knife to make the cut. Here’s how it looked.

And that’s it! Put it back together and test it with a DMM(if you have one).

OK, this is one of the flat back CTS pots.

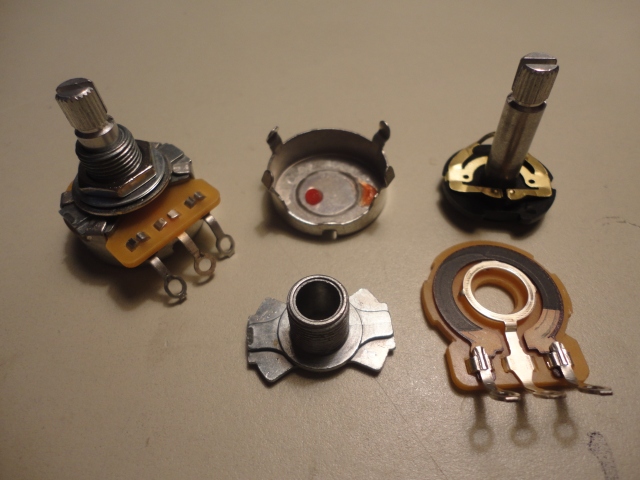
Pot taken apart.

Here you can see how high the contacts are bent while resting on the board that holds the lugs and resistive material.

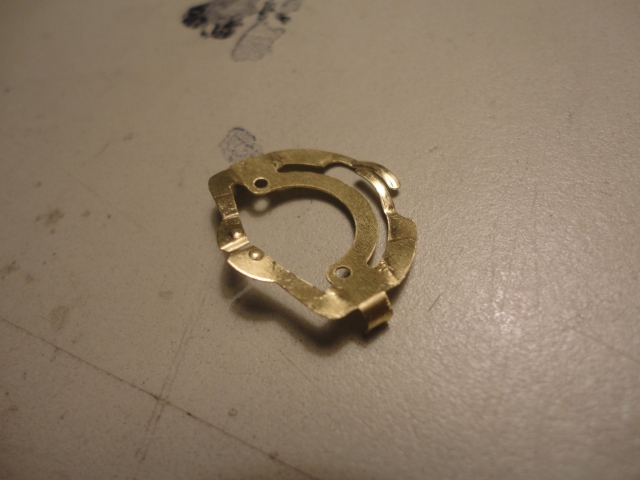
Here’s what I talked about on the previous post of the contacts being a single piece. Removing it makes it much easier to bend the contacts accurately.

Here’s how it looks after I bent them. This one is for me also so it wasn’t much, just enough so that it didn’t feel so stiff.

Put it back together and done!

This beauty is a late 90’s(96’/97′?) MIJ Jazzmaster. The big upgrades were already done in the form of a new set of Novak Pickups and a Mastery bridge! Still a few extra changes and a surprise repair were to be made. It had a 250K volume pot that we replaced for the original value of 1M(but Audio instead of Linear). The original tone cap of .033 had already been replaced with a .047 that we replaced with a Russian PIO .022. The owner complained about the rhythm circuit not being useful at all. It turned out the volume pot was broken and not working as it should. I had a small pot of the right value(but again, audio taper) that fit so we got it fixed. An last but not least, new TUSQ string trees as the string where catching on the old ones(yes, someone installed an extra string tree) causing tuning issues.

Guts!

250K pots and .047 tone cap.

New 1M volume pot and Russian PIO .022 tone cap!

Broken volume pot from the rhythm circuit.

New one!

And the new TUSQ string trees.

Done!

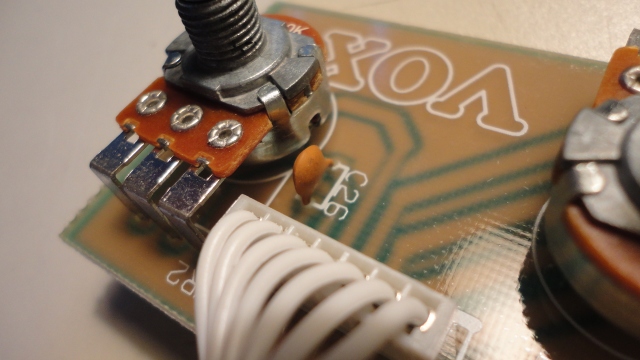
First, take the potentiometer apart.

here’s how the contact tabs look before.

Now,  how far to bend these depends on how loose you’d like the pot to be. In my case(this one is for me!) I just wanted to loosen it up a bit so that it’s easier to turn it down but not so loose that it would roll all the way at a single push…. I’m just not into volume swell, sorry. Here’s how they looked after.

If you decide that you want it really loose and bend these even farther down, before putting the pot back together you’ll have the check that these contacts are touching the resistive material and center lug contact when the back of the pot is in place. On CTS pots with the flat back piece, the shaft can be pushed inside a little bit. If the contacts are bent too much, when pushing on the knob might cause it to open up and not work(at least while it’s being held down) so make sure the pot works fine while putting pressure on the shaft. If not you’ll have to go back and bend the contacts up a little. The contacts are made from a single sheet and can be removed from the black plastic piece which makes it easier to bend these contacts more accurately.

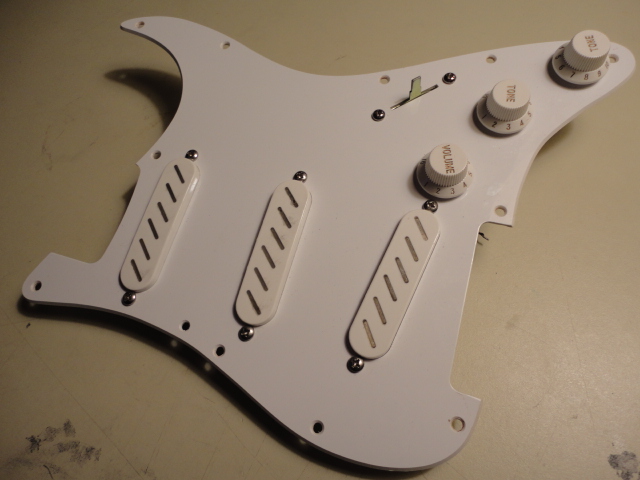
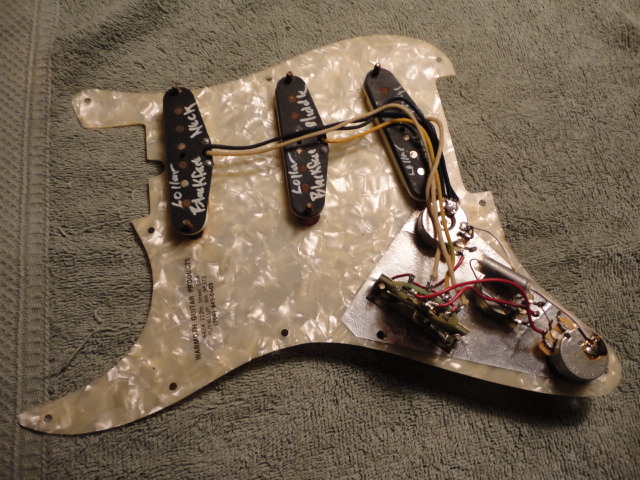
This set of pickup is on tour for try outs. The pickguard itself wouldn’t fit on the guitar to be tried in so I had to switch them up.
I thought they were good pickups, but still nothing really special. Anyways, done!

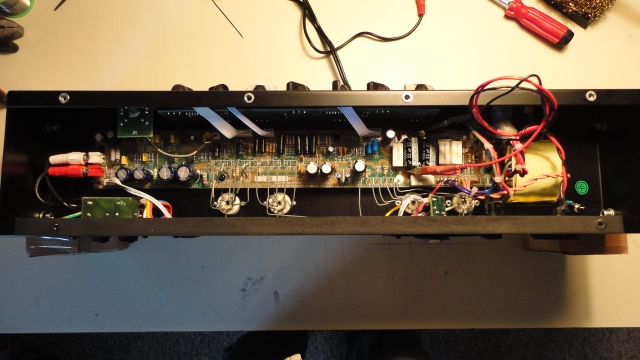
From here: http://www.guitarpug.com/2008/06/vox-ac15cc-mod-guide/

Here we go:

Bright cap to be removed.

Two caps in parallel to the back of the board for easier access(easier to remove if the owner desires to). We removed the small one during testing. The other might end up being removed to by its owner.

Tone cut. Replace the original resistor with sockets to try different values. We went with 150K.

Plate resistor. Added a 120K 1/2w in series with the 100k(adding to 220K).

That’s all. We also reduced the gain of the reverb driver to help tame it a little bit.

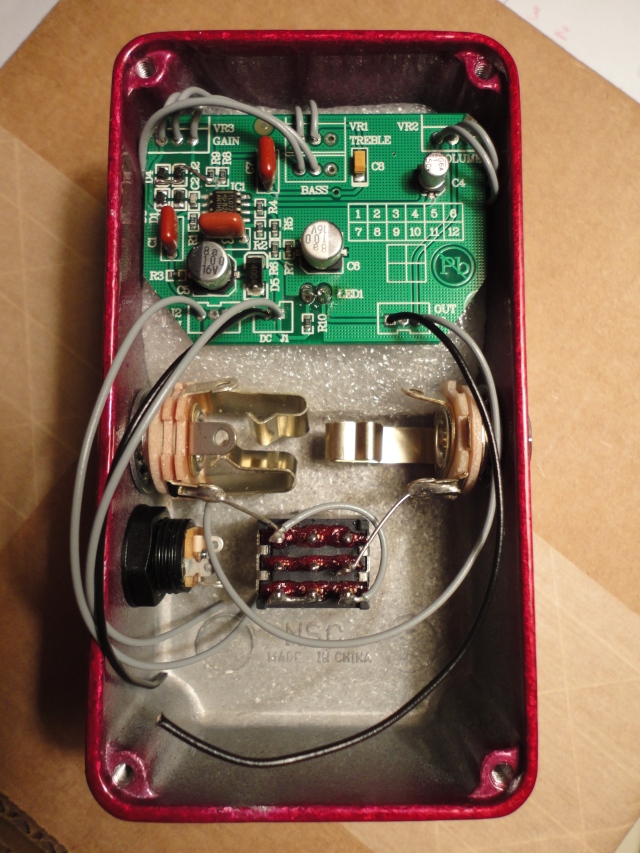
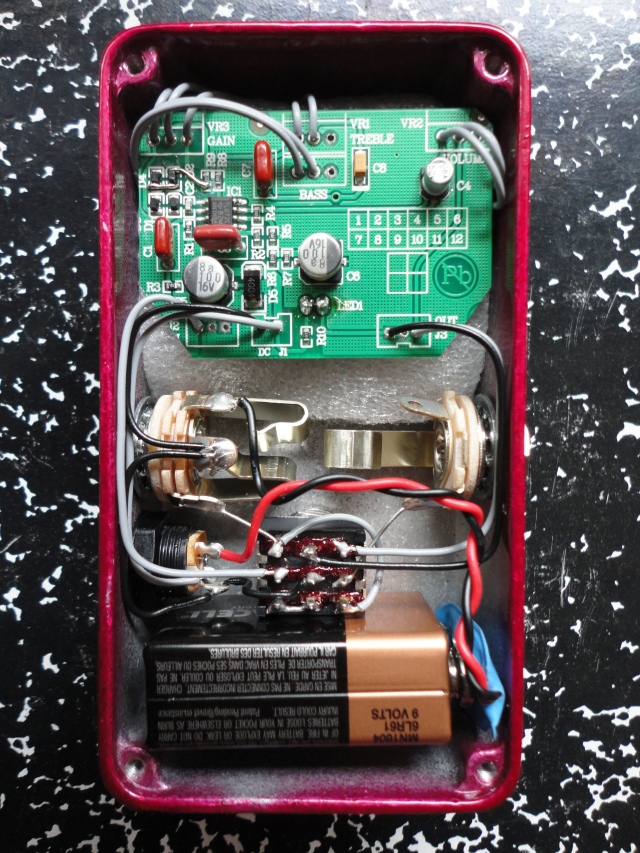
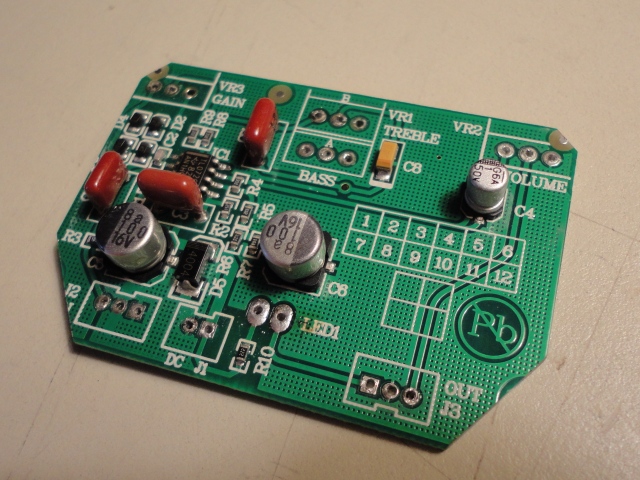
OK, so here we go. From the original guts below only the board and battery clip are used for the rehousing.

Here’s the board, cut and with the parts not to be used removed.

In the following picture there is two changes that need to be done to bring it closer to the original circuit.

Drilled enclosure.

Pots mounted and wired.

Almost there.

Done!

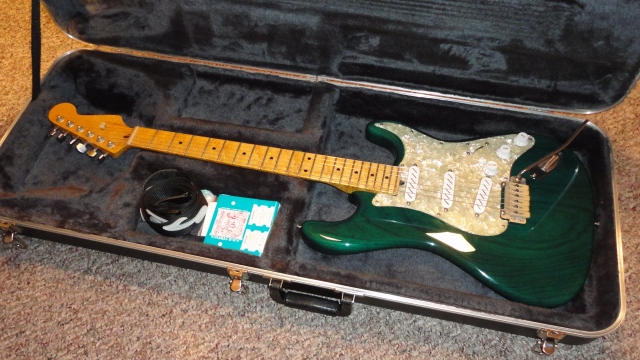
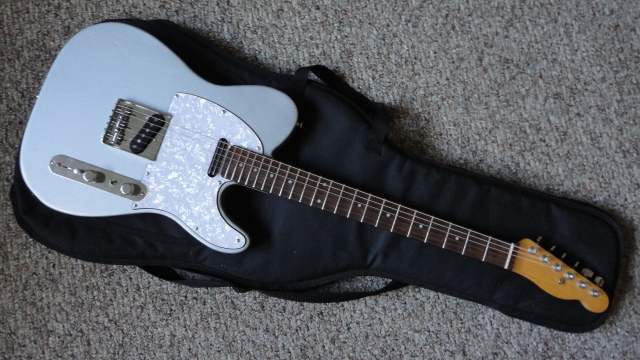
Old, worn in warmoth neck, heavy ash body, GFS pickups, standard telecaster wiring with coil split switch for the neck pickup.

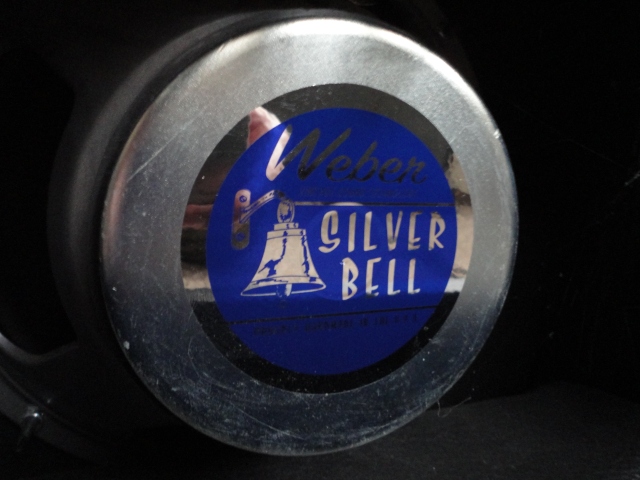
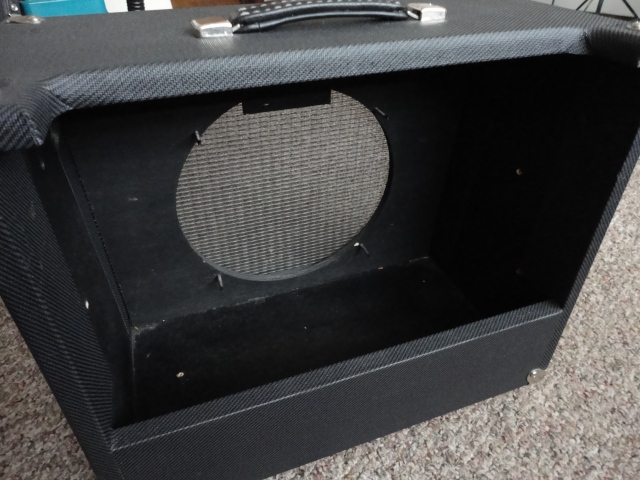
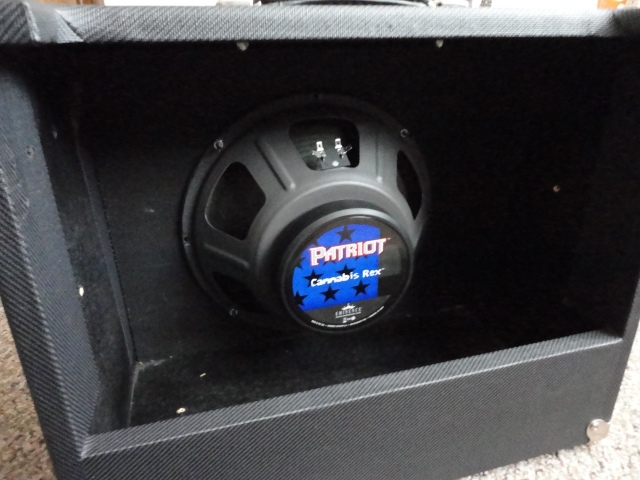
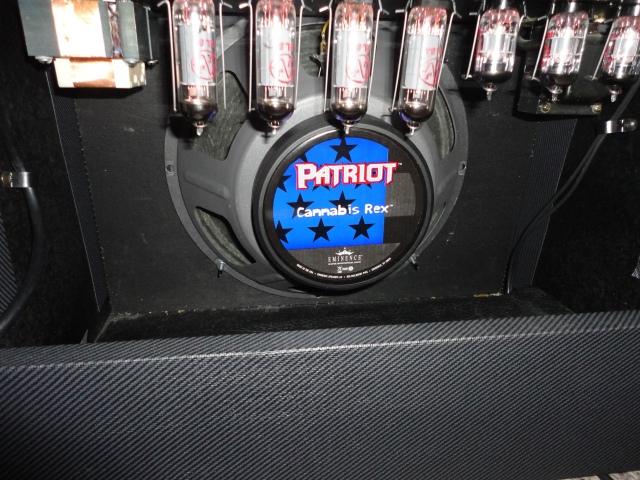
Replacing a Weber Silver Bell with an Eminence Cannabis Rex.

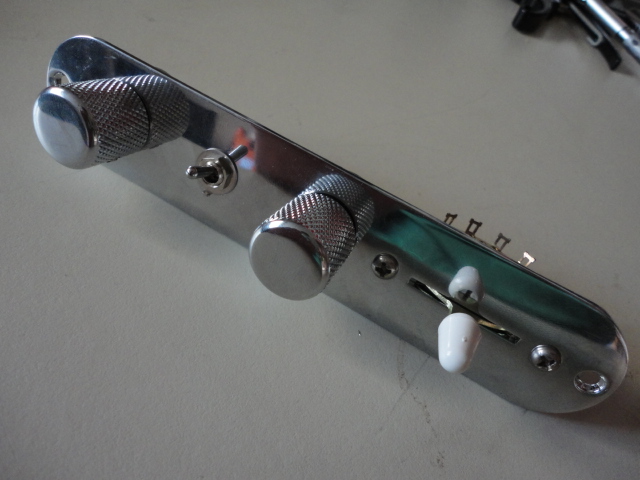
Upgrades on this one were GFS/DiMarzio pickups, 4-way switch wiring and an elektrosocket.